# Setting up distribution lists
You can set up distribution lists within MintFly to store various groups of contacts and attach them to your airdrops for bulk distribution. These are perfect for categorizing your contacts or building specific lists for each campaign your organization runs.
Already know how to set up distribution lists? Skip ahead to [creating an airdrop](https://academy.mintfly.io/airdrop/creating-an-airdrop)!
## Creating a distribution list
{% hint style="info" %}
MintFly Boost users can create an unlimited number of distribution lists composed of up to 200 contacts, while Kickstarter (free) users are restricted to 1 distribution list composed of up to 25 contacts.
{% endhint %}
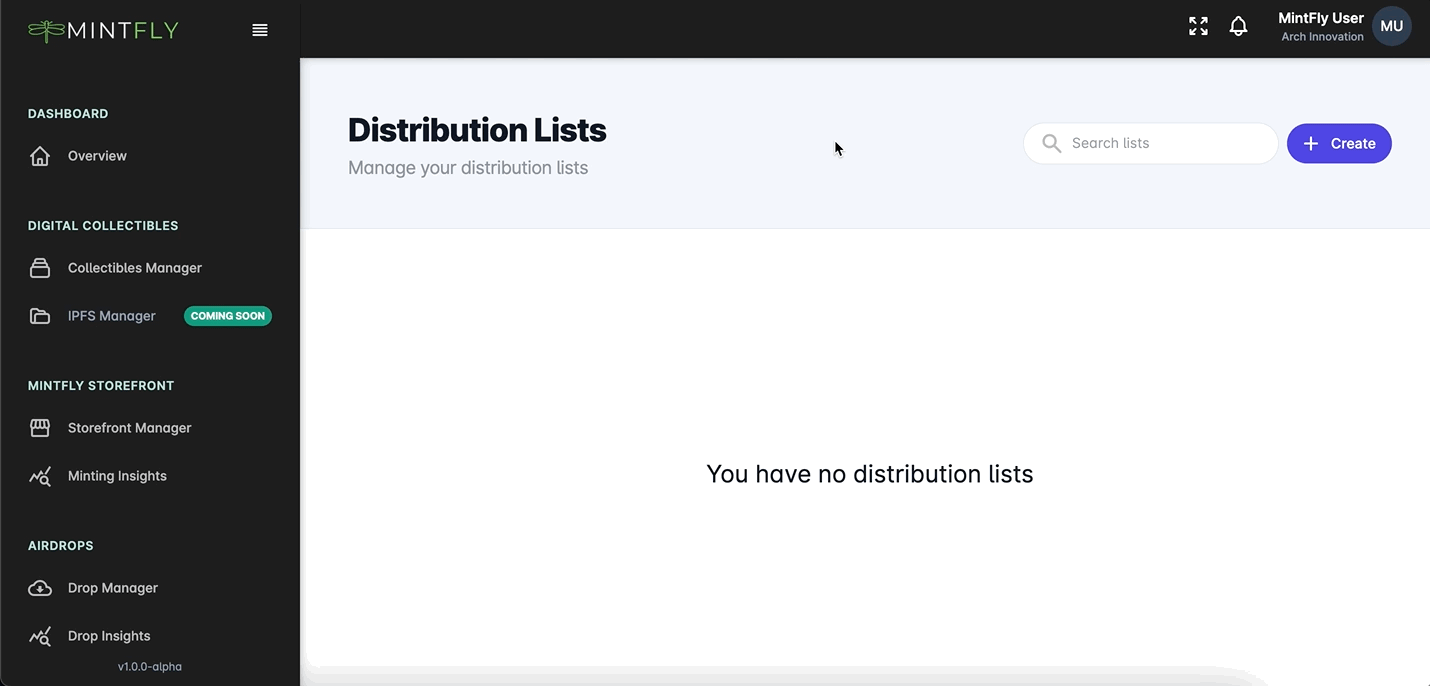
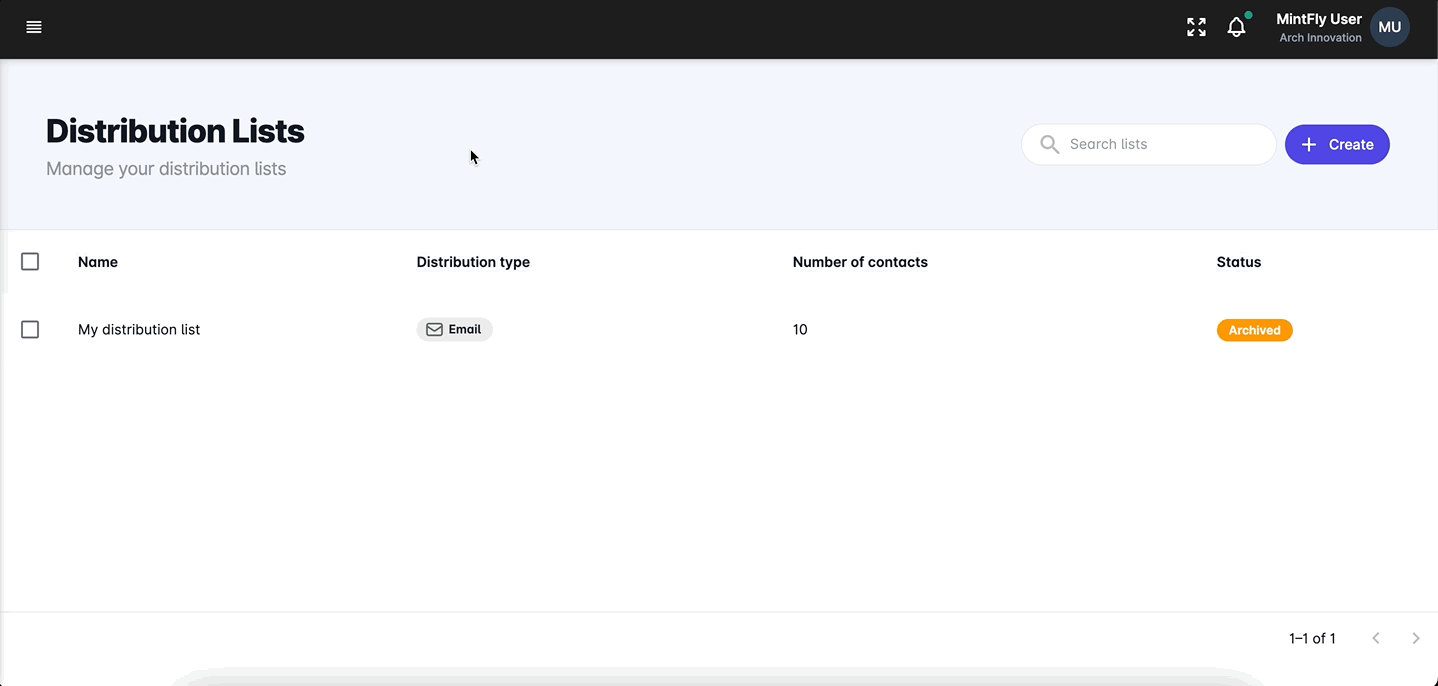
To get started creating a distribution list, access the Distribution Lists page and click the `Create` button located in the page header. This will launch the sidebar editor where you can begin to build your drop.
Creating a new distribution list
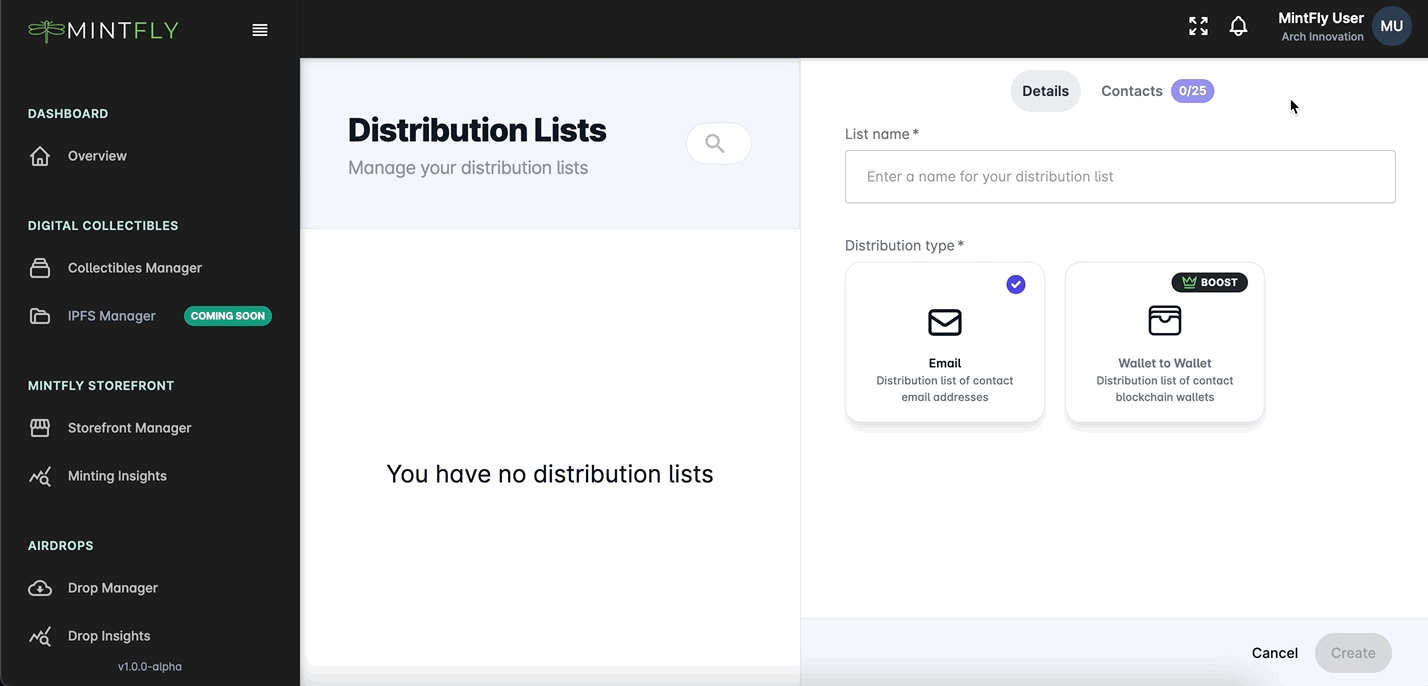
### Details Tab
Configure the details of your distribution list by adding a list name and distribution type.
#### Distribution List Name
The distribution list name is simply an identifier for your list, that describes the group of recipients within.
#### Distribution Type
MintFly supports both email and wallet-to-wallet distribution lists. Currently, wallet-to-wallet distribution lists are only available to MintFly Boost users.
An email distribution list will be composed of contact email addresses and can be used for email airdrops, while wallet-to-wallet distribution lists will only feature contacts with blockchain wallet addresses for use within wallet-to-wallet airdrops.
Completing distribution list details
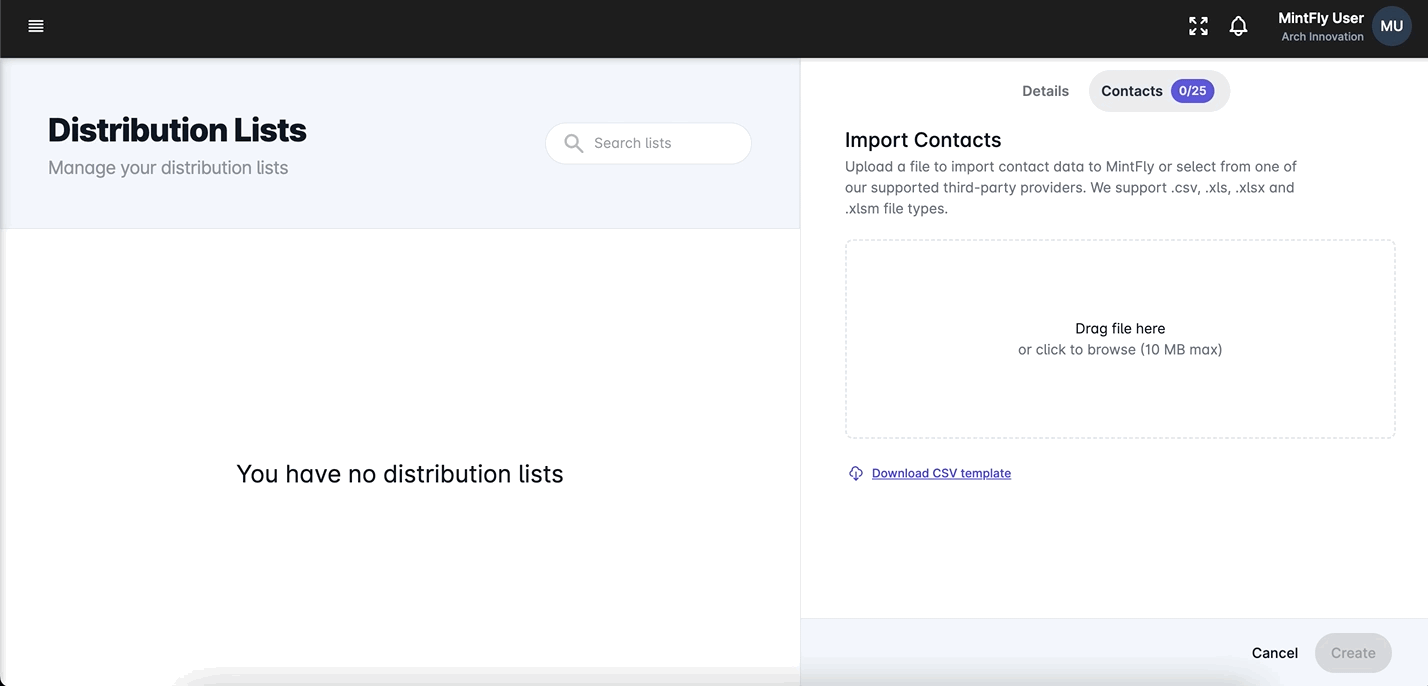
### Contacts Tab
The contacts tab is used for selecting which contacts you wish to add to your distribution lists. These can be selected manually, or imported from a file.
#### Manual Contact Selection
The default option for creating a distribution list is to manually select which contacts you wish to add to the list.
All of your contacts will be displayed on the screen for you to navigate through and select the ones to add to your distribution list. When selecting contacts for a wallet-to-wallet distribution list, you will need to specify the primary wallet address you wish to use for each contact using the dropdown menu - as some contacts may have multiple associated wallet addresses.
#### Importing Contacts
Contacts can be imported from a file instead of manually selected by clicking the `Import from file` button located near the top of the sidebar.
From here, you can click or drag a file with your contact data that you wish to add to your distribution list.
We support the following file types:
* CSV
* XLS
* XLSX
* XLSM
{% hint style="info" %}
**Note:** Your contacts file must adhere to a strict column naming standard in order for us to read and process the data correctly.
To help you with this, you can [download our CSV template](https://mintfly-datastore-qa.s3.eu-west-1.amazonaws.com/public/MINTFLY_BULK_IMPORT_TEMPLATE.csv).
{% endhint %}
Once you have uploaded your file, we will process it and show you an on-screen preview of the contacts we were able to extract from the file.
If something went wrong, you can go back and re-upload your file again.
Uploading a file with contacts
### Create
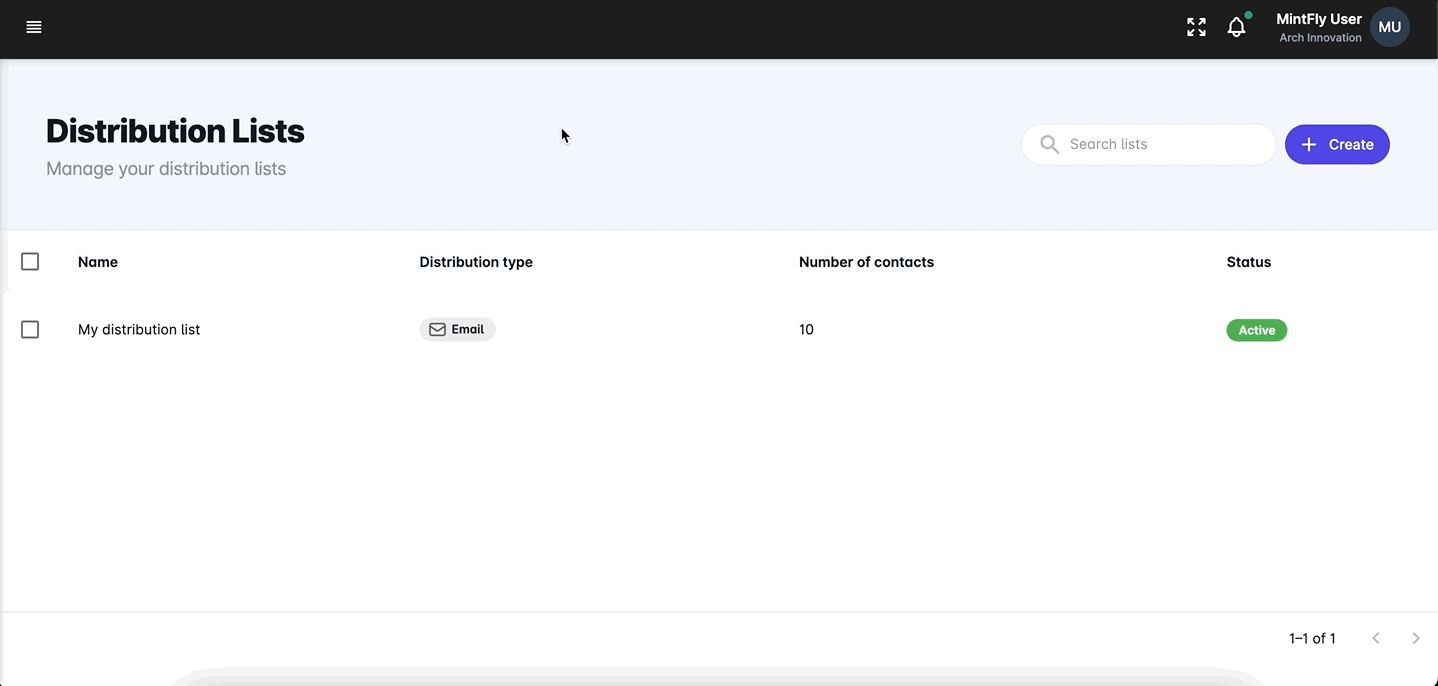
After configuring your distribution list details and contacts, create your list by clicking the `Create` button located in the footer of the sidebar editor.
Your list will be created and added to the distribution list manager table on your screen.
Finalise and create your distribution list
## Archiving distribution lists
Distribution lists can be archived when you no longer need to use them anymore but don't wish to delete them just yet.
You can archive 1 or more distribution lists by selecting them from the Distribution Lists table, clicking the overflow menu icon located in the table header, and then selecting the `Archive` option.
This action can be reversed at any time by repeating the same action and selecting the `Active` option.
Archiving a distribution list
## Deleting distribution lists
Distribution lists can be deleted in order to free up more space within your current plan for additional lists or when you simply no longer need them.
You can delete a distribution list by selecting the lists within the table you wish to delete, clicking the overflow menu icon, and selecting the `Remove` option.
{% hint style="warning" %}
**Note:** This action cannot be undone, and all distribution list data will be lost.
{% endhint %}
Deleting distribution lists
---
# Agent Instructions: Querying This Documentation
If you need additional information that is not directly available in this page, you can query the documentation dynamically by asking a question.
Perform an HTTP GET request on the current page URL with the `ask` query parameter:
```
GET https://academy.mintfly.io/airdrop/setting-up-distribution-lists.md?ask=
```
The question should be specific, self-contained, and written in natural language.
The response will contain a direct answer to the question and relevant excerpts and sources from the documentation.
Use this mechanism when the answer is not explicitly present in the current page, you need clarification or additional context, or you want to retrieve related documentation sections.